How to Print Address Labels using Excel
Advance your Microsoft Excel & Office Skills with the MyExcelOnline Academy!
Overview
Creating personalized labels can save a lot of time and effort, especially if you are dealing with a large number of contacts or addresses. One of the most efficient ways to do this is by using the mail merge feature in Microsoft Word, with your data sourced from an Excel spreadsheet. In this guide, I’ll walk you through the entire process step by step on how to print address labels using Excel.
Key Takeaways:
- Ensure your mailing list in Excel is well-structured with clear headings for each column, as accurate data organization is crucial for successful label printing.
- Set up your label layout in Microsoft Word by choosing the correct label options and connecting to your Excel data source.
- Use the mail merge feature in Word to insert data fields from your Excel sheet into the label template, adjusting fonts and spacing for a professional look.
- Always preview your labels to check for alignment and accuracy before proceeding to print, ensuring each label fits within its designated space.
- Address any formatting issues, alignment problems, or preview discrepancies by double-checking your data and settings in both Excel and Word.
Table of Contents
Getting Started with Address Labels in Excel
Preparing Your Mailing List: The Foundation for Printing Labels
To begin printing address labels straight from Excel, I first ensure that my mailing list data is neatly organized within the spreadsheet. I create columns with headings like Name, Address Line 1 & 2, City, State/Province, Postal Code, and Country, placing each piece of information into its individual cell. This step is critical because the accuracy and formatting of this data will directly impact the success of my label printing.
Key Considerations Before You Begin the Labeling Process
Before I dive into the world of label printing, there are several key considerations I account for to ensure that the process goes smoothly. I start by reviewing my dataset thoroughly, confirming that every entry is in its designated column and free of errors or omissions that could lead to incorrect labeling. This also involves checking for formatting consistency—ensuring, for example, that all postal codes are in the same format.
After making sure the data is clean, I preview the labels to confirm that the alignment and layout are as intended. Critical to this step is ensuring that all text is legibly within the label’s boundaries and that the font size is readable. Finally, considering the label dimensions and printer configurations upfront helps me avoid unwanted surprises during the actual printing. It’s often a good idea to run a test print on a plain sheet of paper to detect any misalignments before printing on the actual label sheets.
Step-by-Step Instructions on How to Print Labels from Excel
Step 1: Prepare Your Excel Spreadsheet
The first step in the process is to prepare your data in an Excel spreadsheet. Here’s how to do it:
- Open Excel and create a new workbook.
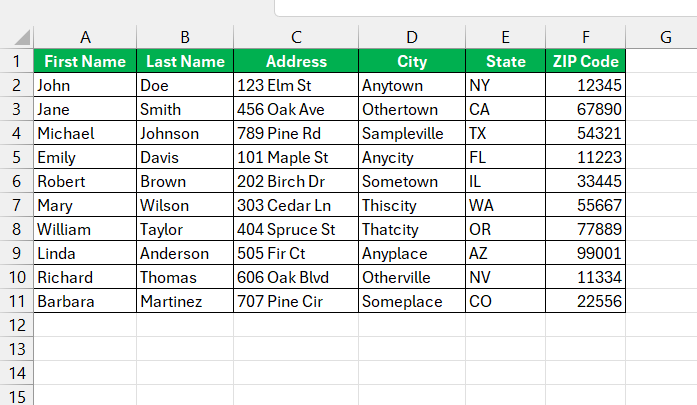
- Enter your data. Ensure that each column has a clear heading in the first row, such as “First Name,” “Last Name,” “Address,” “City,” “State,” and “ZIP Code.” This will help you identify the data fields during the mail merge process.
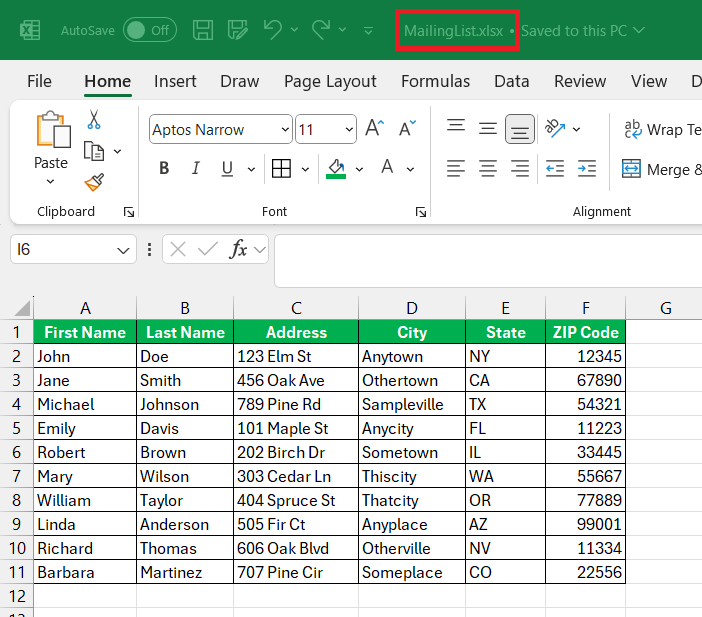
- Save your Excel file. Make sure to save your file in a location where you can easily find it later. I recommend naming the file something intuitive like “MailingList.xlsx.”
Step 2: Set Up Your Labels in Word
Next, you’ll need to set up the layout of your labels in Word:
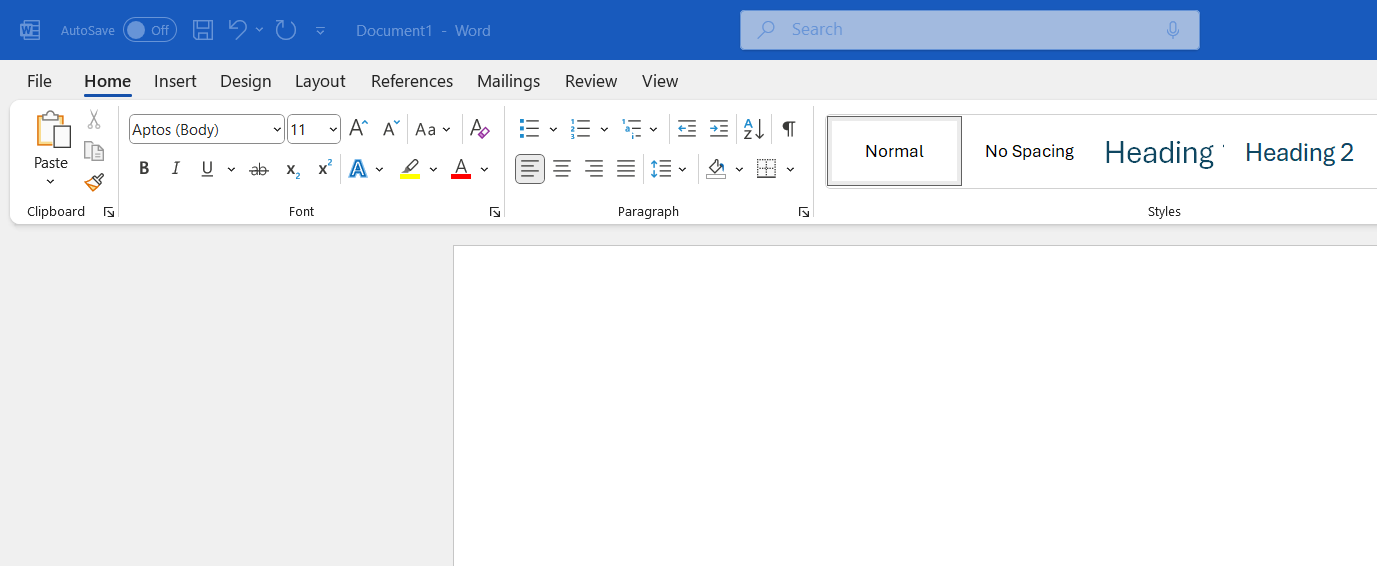
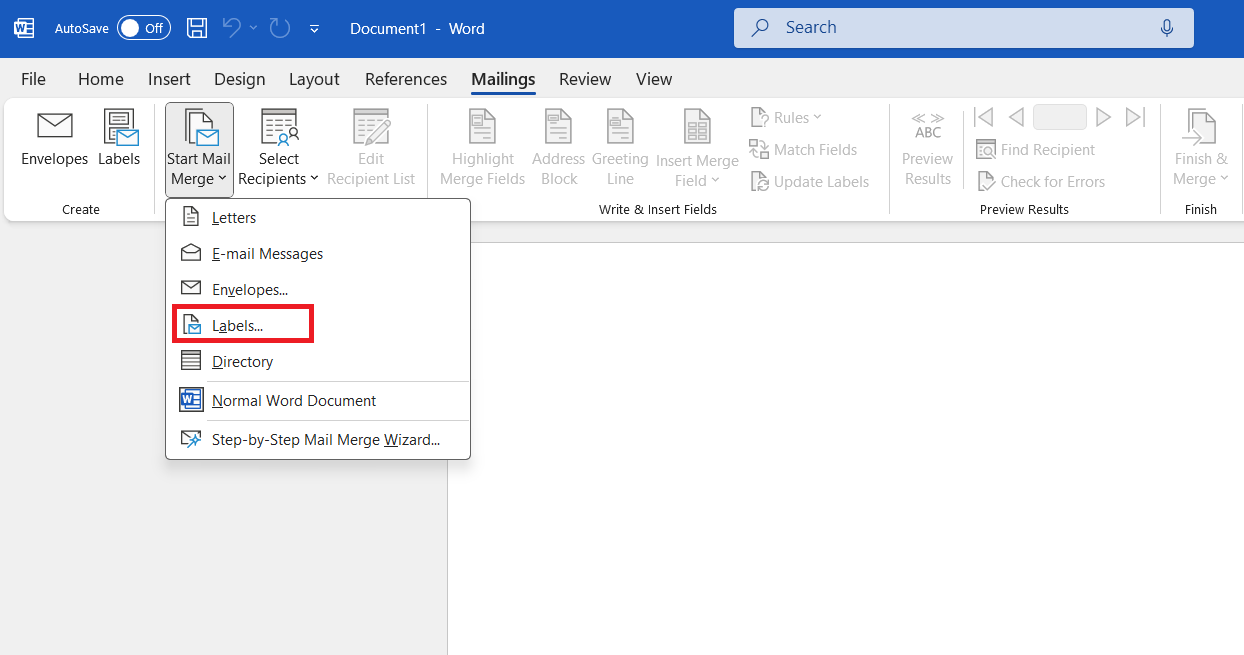
- Go to the “Mailings” tab. Click on “Start Mail Merge” and from the dropdown menu, select “Labels.”
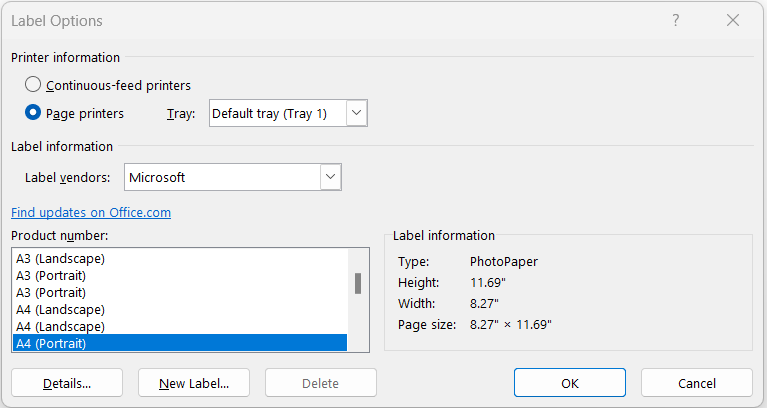
- Select your label options. A dialog box will appear. Here, you can choose the brand and product number of your labels. If you are using a standard label type, such as Microsoft, you can easily find the corresponding number in the list. Click “OK” once you’ve made your selection.
Step 3: Connect to Your Excel Data Source
Now that your labels are set up, it’s time to connect to your Excel data source:
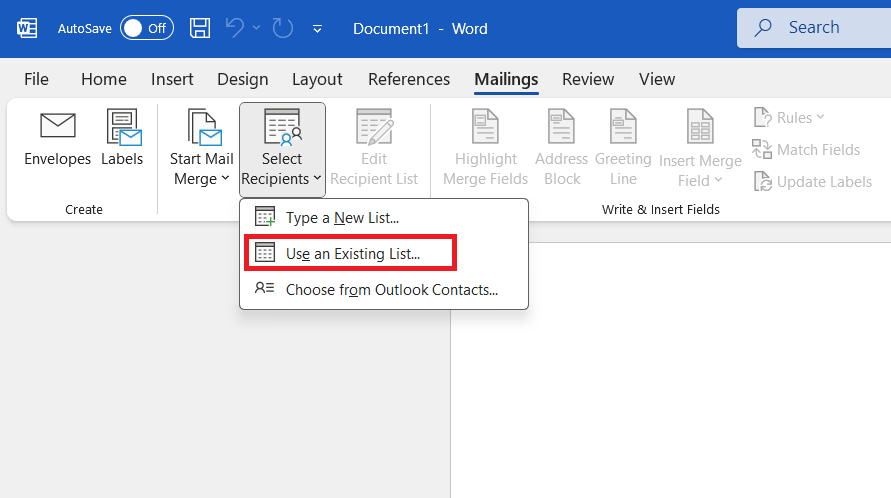
- Click on “Select Recipients” in the “Mailings” tab. From the dropdown menu, select “Use an Existing List.”
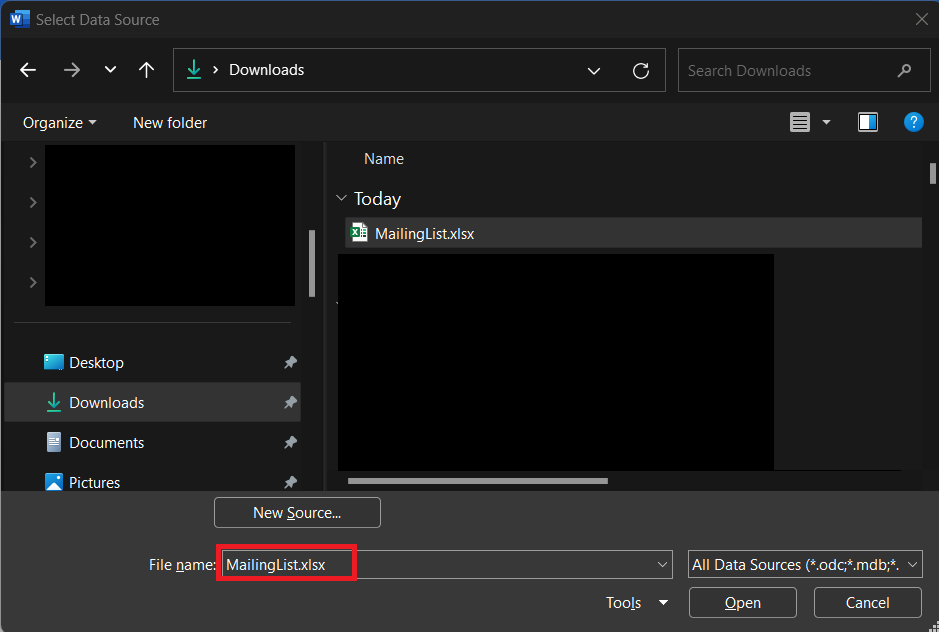
- Locate and select your Excel file. Navigate to the location where you saved your Excel file, select it, and click “Open.”
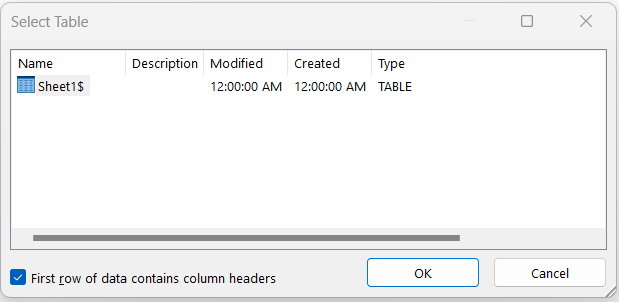
- Select the appropriate worksheet. If your Excel workbook contains multiple sheets, you’ll need to choose the one that contains your data. Ensure the “First row of data contains column headers” box is checked, then click “OK.”
Step 4: Insert Mail Merge Fields
With your data source connected, you can now insert the merge fields into your labels:
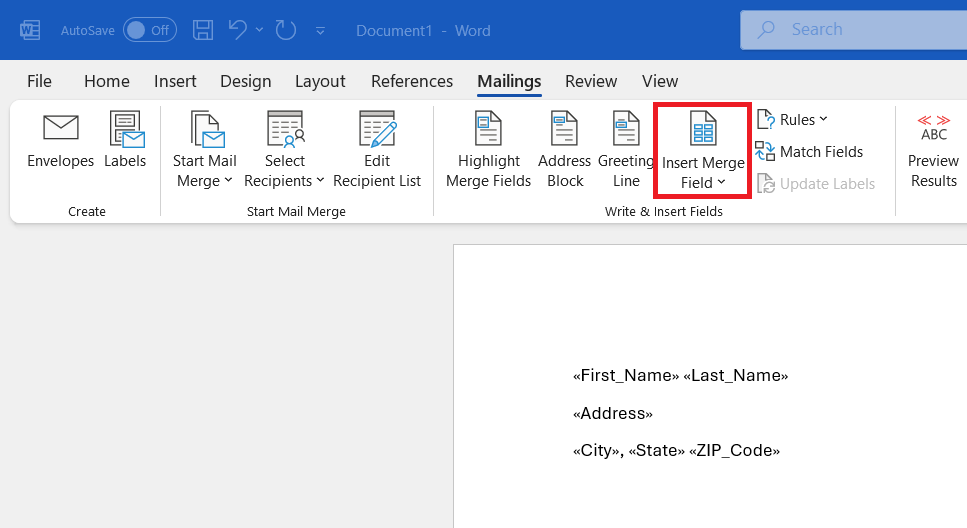
- Click on “Insert Merge Field” in the “Mailings” tab. You will see a list of the column headings from your Excel spreadsheet.
- Insert the fields into your label layout. Place the cursor where you want to insert a field, and then click the field name from the dropdown list. For example, you might have something like this:
«City», «State» «ZIP_Code»
- Format your labels. Adjust the font, size, and spacing as needed to fit your labels. You can also add additional text or graphics if desired.
Step 5: Preview and Finish the Mail Merge
Before finalizing your labels, it’s important to preview them to ensure everything looks correct:
- Click on “Preview Results” in the “Mailings” tab. This will show you what the labels will look like with your actual data.
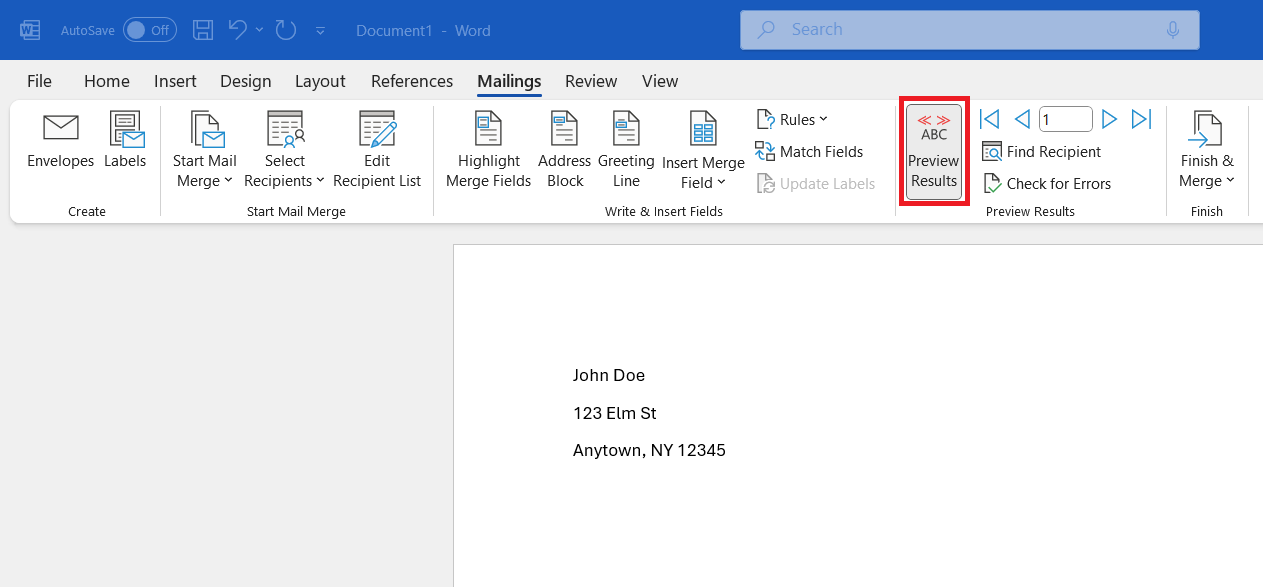
- Use the arrow buttons to navigate through the records and make sure the data appears correctly on each label.

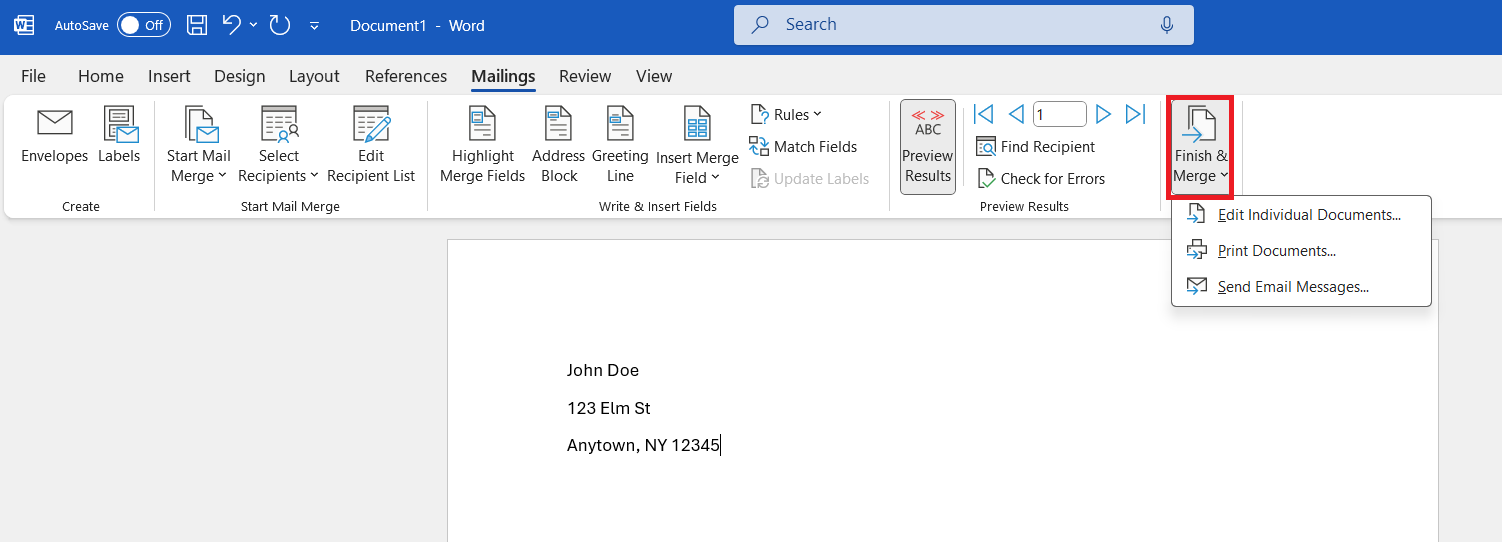
- If everything looks good, click on “Finish & Merge.” From the dropdown menu, select “Print Documents” or “Edit Individual Documents.”
- Print Documents: This option will send your labels directly to the printer. Make sure your printer is loaded with the correct label paper.
- Edit Individual Documents: This option creates a new Word document with all your labels. You can review and make any final adjustments before printing.
Step 6: Print Your Labels
If you choose to edit individual documents, review the document to ensure everything is in place. Then, you can print your labels:
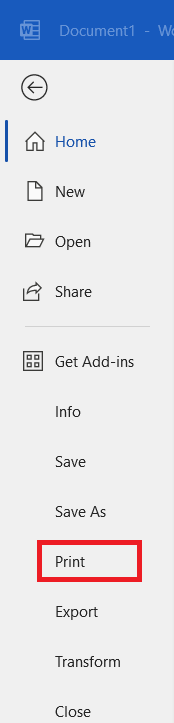
- Go to the “File” menu and select “Print.”
- Select your printer and adjust any print settings as needed.
- Load your printer with label paper. Make sure the paper is loaded correctly to avoid any misalignment.
- Click “Print” to start printing your labels.
Troubleshooting Tips
- Data Formatting: Ensure that your data in Excel is clean and properly formatted. Remove any extra spaces or special characters that might cause issues during the merge.
- Label Alignment: If your labels are not aligning correctly, double-check the label size and layout settings in Word. You might need to adjust the margins or other settings.
- Previewing Issues: If the preview doesn’t look right, go back and check that you have inserted the correct merge fields and that they are formatted properly.
FAQs on Printing Address Labels from Excel
How to print address labels from Excel?
To print address labels from Excel, I start by setting up my data in a worksheet with columns for name, address, and other relevant information. Then, I open a Word document, navigate to the Mailings tab, and select ‘Start Mail Merge’, choosing ‘Labels’. After selecting my label vendor and product number, I open the Mail Merge Wizard where I link my Excel worksheet by choosing ‘Select Recipients’. Finally, I insert merge fields, preview the labels, and proceed to print directly onto my label sheets.
Can You Customize Labels for Different Addresses in a Single Sheet?
Yes, I can customize labels for different addresses on a single sheet using Excel’s Mail Merge feature in Word. By preparing my address list in Excel and then using the Mail Merge Wizard in Word, I can insert individual address details into each label template on a single page, ensuring that each label is tailored to a different recipient.
What to Do if Your Printer Won’t Align Properly With Label Sheets?
If my printer doesn’t align properly with label sheets, I first check the printer settings to make sure the correct paper type and tray are selected. Then, I adjust the page margins and the position of the labels within the printer driver or Word’s label settings. If misalignment persists, I use the printer’s manual feed tray to have more control over how the label sheet is fed into the printer.
How to create a label in Excel?
To create a label in Excel, I set up my data in columns with appropriate headers, and then format cells to match the dimensions of my label sheets. I also utilize borders or cell color fills for visual separation if needed. Once formatted, I preview the sheet layout in ‘Page Layout’ mode to ensure everything aligns well before printing on label sheets.
How do I label a series in Excel?
To label a series in Excel, I right-click on the chart that contains the series and select ‘Select Data’. In the ‘Select Data Source’ dialog box, I click on the series I want to label and then click ‘Edit’. In the resulting ‘Edit Series’ dialog box, I enter a name in the ‘Series name’ box or select the cell in my worksheet that contains the data series name I want to use.
